コンテナ内のテキストを中央揃えにするため .text-center クラスを追加し、
テキスト "We love music" をイタリック体にするため <em> 要素を使います:
例
<div class="container text-center">
<h3>THE BAND</h3> <p><em>We love music!</em></p> <p>We have
created a fictional band website. Lorem ipsum..</p> </div>
結果:
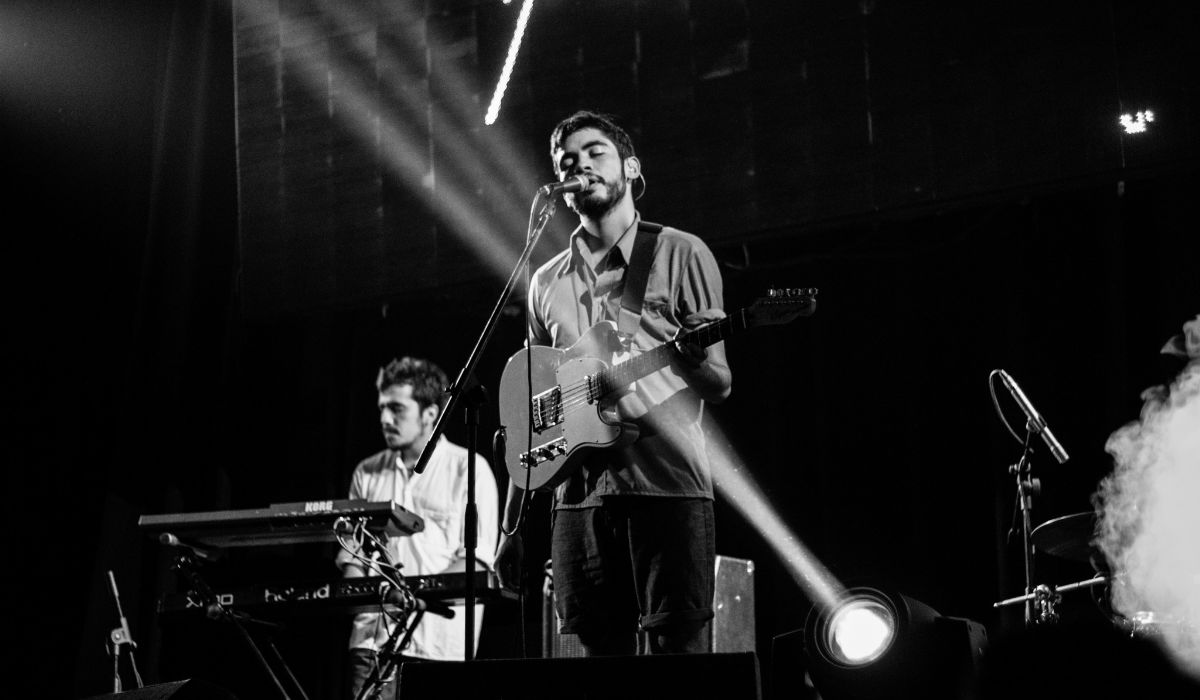
THE BAND
We love music!
We have created a fictional band website. Lorem ipsum..
<!-- Wrapper for slides --> <div class="carousel-inner"
role="listbox"> <div class="item active">
<img src="ny.jpg" alt="New York">
<div class="carousel-caption"> <h3>New York</h3>
<p>The atmosphere in New York is lorem ipsum.</p>
</div> </div>
<div
class="item"> <img src="chicago.jpg"
alt="Chicago"> <div
class="carousel-caption"> <h3>Chicago</h3>
<p>Thank you, Chicago - A night we won't forget.</p>
</div> </div>
<div
class="item"> <img src="la.jpg"
alt="Los Angeles"> <div
class="carousel-caption"> <h3>LA</h3>
<p>Even though the traffic was a mess, we had the best time.</p>
</div> </div> </div>
.carousel-inner img { -webkit-filter:
grayscale(90%); filter: grayscale(90%); /* make all photos black and
white */ width: 100%; /* Set width to 100% */ margin: auto; }
.carousel-caption h3 { color: #fff !important;
}
@media
(max-width: 600px) { .carousel-caption { display: none; /* Hide the
carousel text when the screen is less than 600 pixels wide */ } }
結果:
New York
The atmosphere in New York is lorem ipsum.
Chicago
Thank you, Chicago - A night we won't forget.
LA
Even though the traffic was a mess, we had the best time playing at Venice Beach!
<div class="bg-1"> <div
class="container"> <h3 class="text-center">TOUR
DATES</h3> <p class="text-center">Lorem ipsum we'll
play you some music.<br> Remember to book your tickets!</p>
<ul class="list-group"> <li
class="list-group-item">September Sold Out!</li>
<li class="list-group-item">October Sold Out!</li>
<li class="list-group-item">November 3</li> </ul>
</div> </div>
結果:
TOUR DATES
Lorem ipsum we'll play you some music. Remember to book your tickets!
/* Black buttons with extra padding and without rounded borders */ .btn {
padding: 10px 20px; background-color: #333; color: #f1f1f1;
border-radius: 0; transition: .2s; }
/* On
hover, the color of .btn will transition to white with black text */ .btn:hover, .btn:focus {
border: 1px solid #333; background-color: #fff; color: #000; }
<style> /* Add a dark gray background color to the modal header and
center text */
.modal-header, h4, .close { background-color: #333;
color: #fff !important; text-align: center;
font-size: 30px; }
<div
class="tab-content"> <div id="home" class="tab-pane fade in
active"> <h2>Mike Ross, Manager</h2>
<p>Man, we've been on the road for some time now. Looking forward to lorem
ipsum.</p> </div> <div id="menu1" class="tab-pane fade">
<h2>Chandler Bing, Guitarist</h2> <p>Always a pleasure
people! Hope you enjoyed it as much as I did. Could I BE.. any more
pleased?</p> </div> <div id="menu2" class="tab-pane
fade"> <h2>Peter Griffin, Bass player</h2>
<p>I mean, sometimes I enjoy the show, but other times I enjoy other
things.</p> </div> </div>
<style> #googleMap { width:
100%; /* Span the entire width of the screen */ height: 400px;
/* Set the height to 400 pixels */ -webkit-filter:
grayscale(100%); filter: grayscale(100%); /* Change
the color of the map to black and white * / }
</style>
<div id="googleMap"></div>
<!-- Add Google Maps --> <script src="http://maps.googleapis.com/maps/api/js"></script>
<script> var myCenter = new google.maps.LatLng(41.878114, -87.629798);
function initialize() { var mapProp = { center:myCenter,
zoom:12, scrollwheel:false, draggable:false,
mapTypeId:google.maps.MapTypeId.ROADMAP };
var map = new
google.maps.Map(document.getElementById("googleMap"),mapProp);
var
marker = new google.maps.Marker({ position:myCenter, });
/* Add a dark background color with a little bit see-through */ .navbar { margin-bottom: 0;
background-color: #2d2d30; border: 0;
font-size: 11px !important; letter-spacing: 4px;
opacity:0.9; }
/* Add a gray color to all navbar links */ .navbar li a, .navbar .navbar-brand {
color: #d5d5d5 !important; }
/* On hover, the links will turn
white */ .navbar-nav li a:hover {
color: #fff !important; }
/* The active link */ .navbar-nav li.active a {
color: #fff !important; background-color:#29292c
!important; }
/* Remove border color from the collapsible button
*/ .navbar-default .navbar-toggle {
border-color: transparent; }
<script> $(document).ready(function(){ // Add
smooth scrolling to all links in navbar + footer link $(".navbar
a, footer a[href='#myPage']").on('click', function(event) {
// Make sure this.hash has a value before overriding default behavior
if (this.hash !== "") {
// Using jQuery's animate() method to add smooth page
scroll // The optional number (900) specifies the number of milliseconds
it takes to scroll to the specified area $('html, body').animate({
scrollTop: $(hash).offset().top }, 900, function(){
// Add hash
(#) to URL when done scrolling (default click behavior)
window.location.hash = hash; });
} // End if }); }) </script>